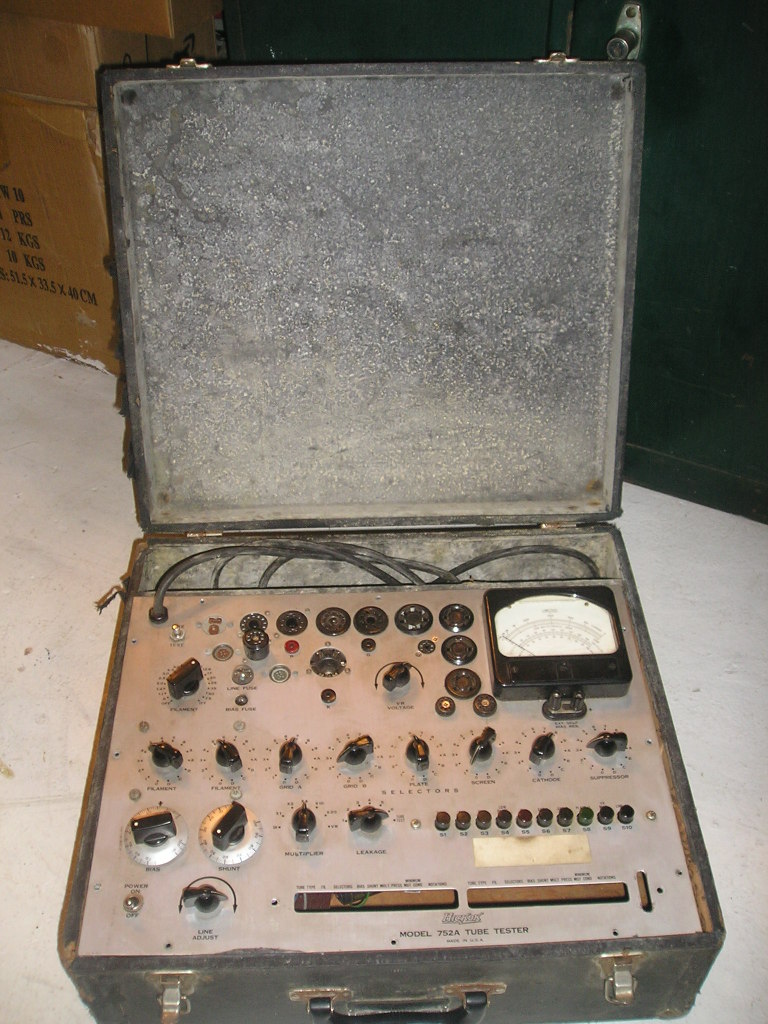
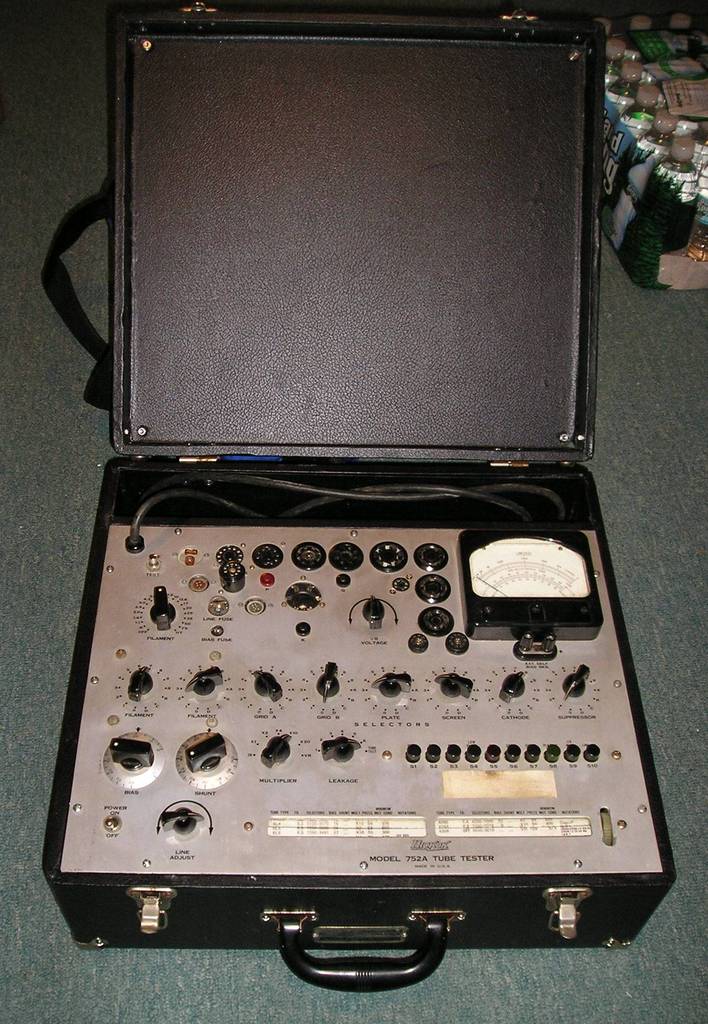
I'm attempting to put together instructions explaining how I recovered my 752 with a few added pictures of my 800a recovering. I believe that most Hickok testers use either these two cases, or one's very similar to them. It's not perfect, so have patience with me.
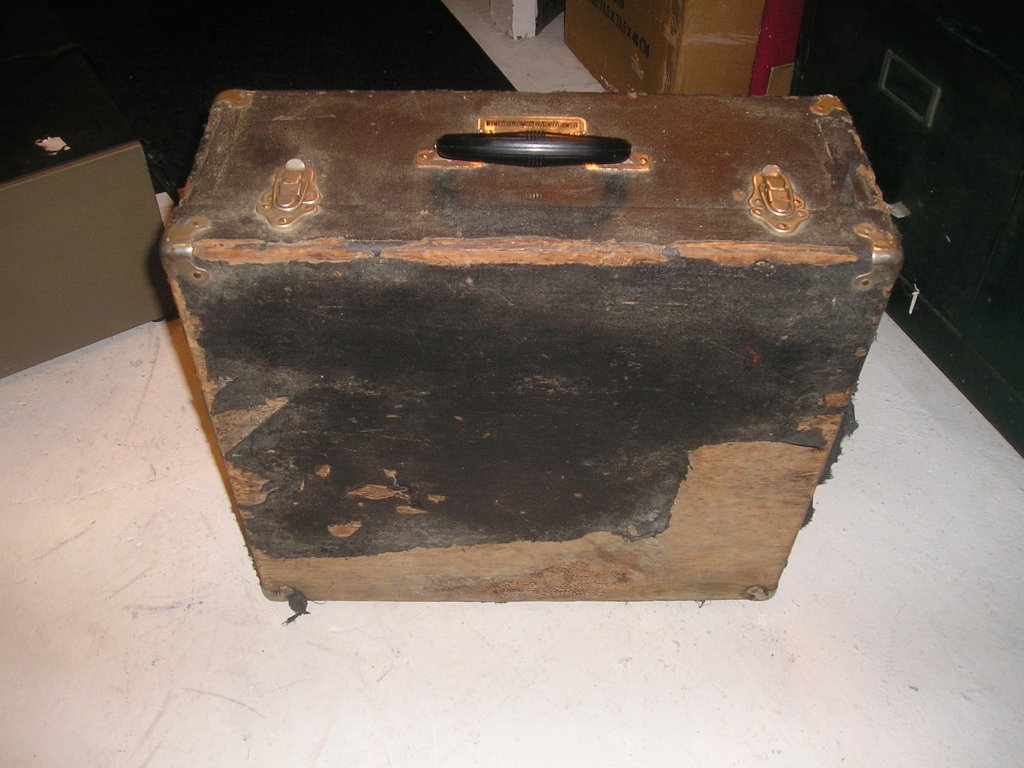
1. First of all , take stock in what you have to work with. Is the case complete? Is the hardware all there? Is what's there repairable? I saved all hardware and sandblasted when needed, and repainted. I had a hard time finding good replacement hardware.
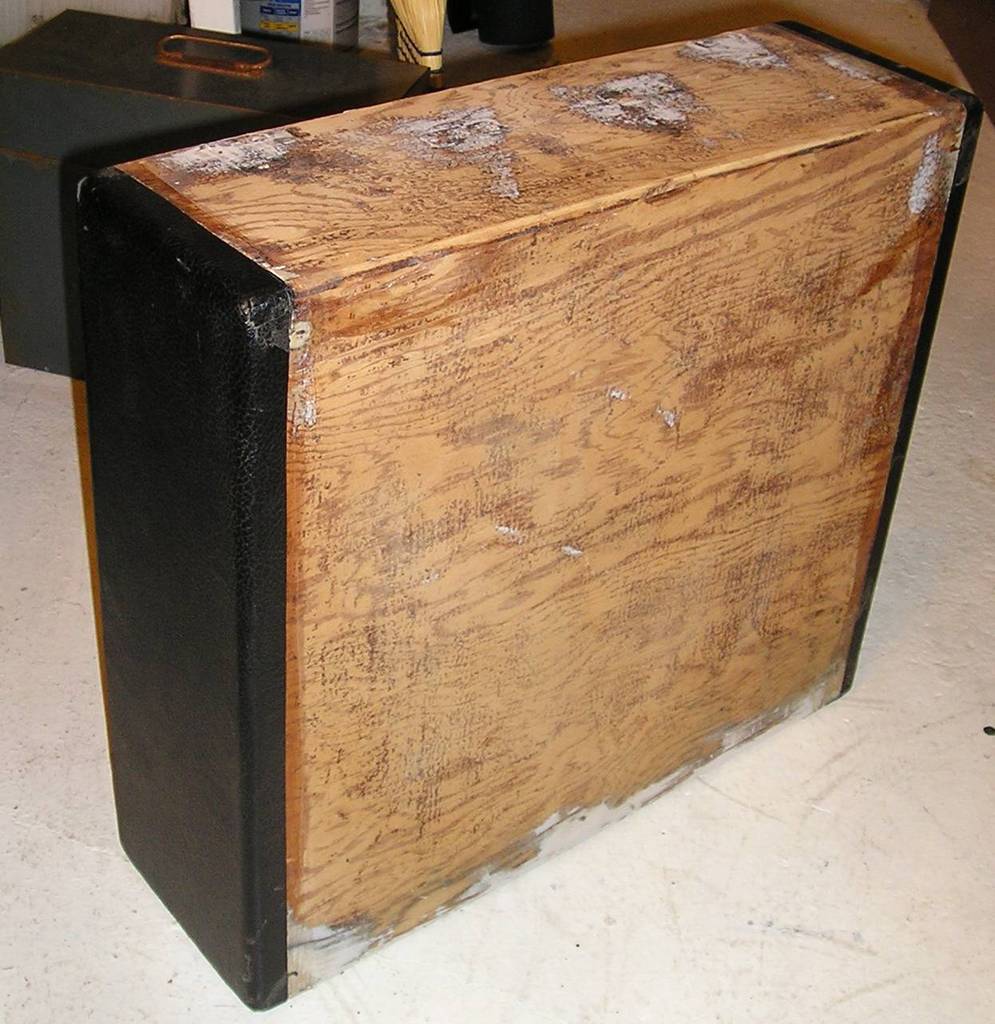
2. Carefully remove the old hardware by digging into the case a little to lift the mushroomed ends of the rivets, then squeeze the ends together with a pliers and remove them saving all pieces until done.Clean all hardware with steelwool or rust remover. Then carefully remove what's left of the covering. Take good notes about which sides overlap over the others and where they meet. With the two that I've done this way, both coverings came off easily, with a little effort. write on the back, where it came off from, and save all covering material.
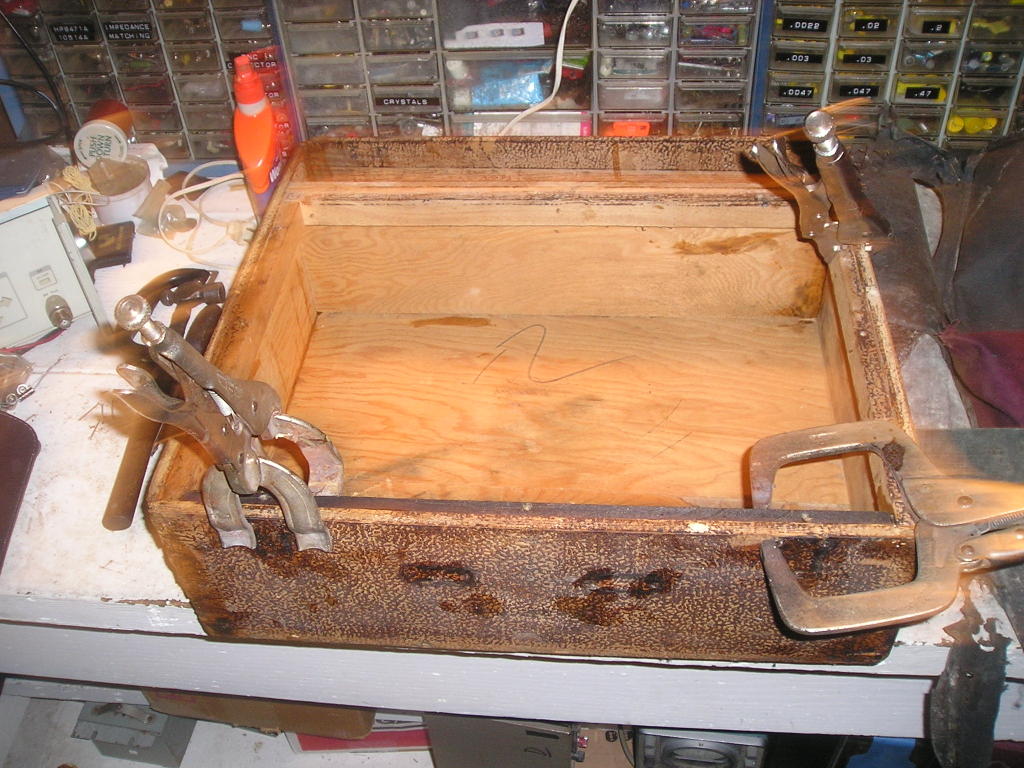
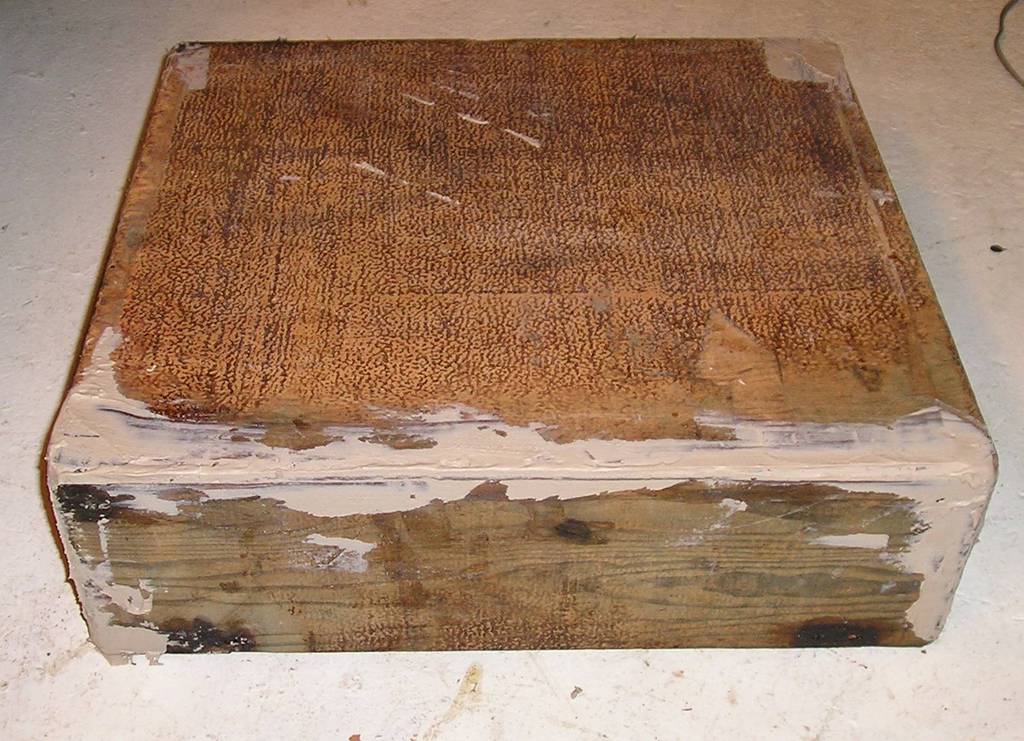
3. Examine the case to see if the corner joints and/or the top and bottom are secure. If not, try prying them apart, and reglueing with wood glue. Fill all rivet holes with wood glue . [ see pictures] fill all imperfections with wood filler or auto body putty, then sand case when dry.
4. Open up new covering material [face down] and arrange the old pieces like a puzzle, keeping them close together so as to use the material wisely. I found that the 752 case took a piece that was 48" X 43" and the 800/600 took about 43" X 36". Use a thin grade of book covering material that like the ones sold by Cayce Vintage Sound, but there are others, just hunt a little. Trace all pieces, allowing a little extra for shrinkage and cut duplicates of the pieces. Remember, measure twice, cut once!
Don't sweat the corner trimming, that can be done later.
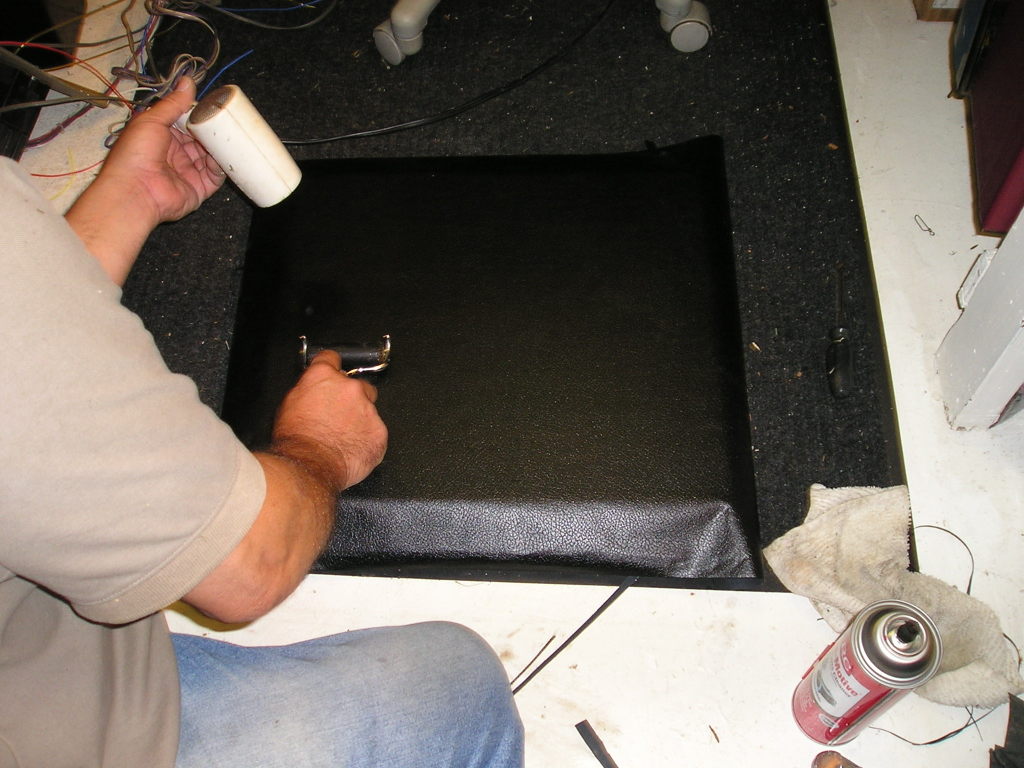
5. Start with the reverse order that you removed material with. I noticed that the sides on the bottom half of the case went on first, then the bottom and front/ rear piece after that. This way the seams of the sides were covered.Don't forget to allow enough to cover the edges where the tester itself sits I used regular contact cement, which I didn't let dry, then laid the piece on, and used a hair dryer and a small roller to apply it. Heating the material seems to activate the glue and allow you to slightly shape the corners. This is the point where careful cutting of the material[ notching out a rectangle or pie shape will provide an overlap for the corners. Don't sweat any glue getting on the covering, it can be removed with brake cleaner on a rag which also will reduce some of the phony looking shine that the material comes with.
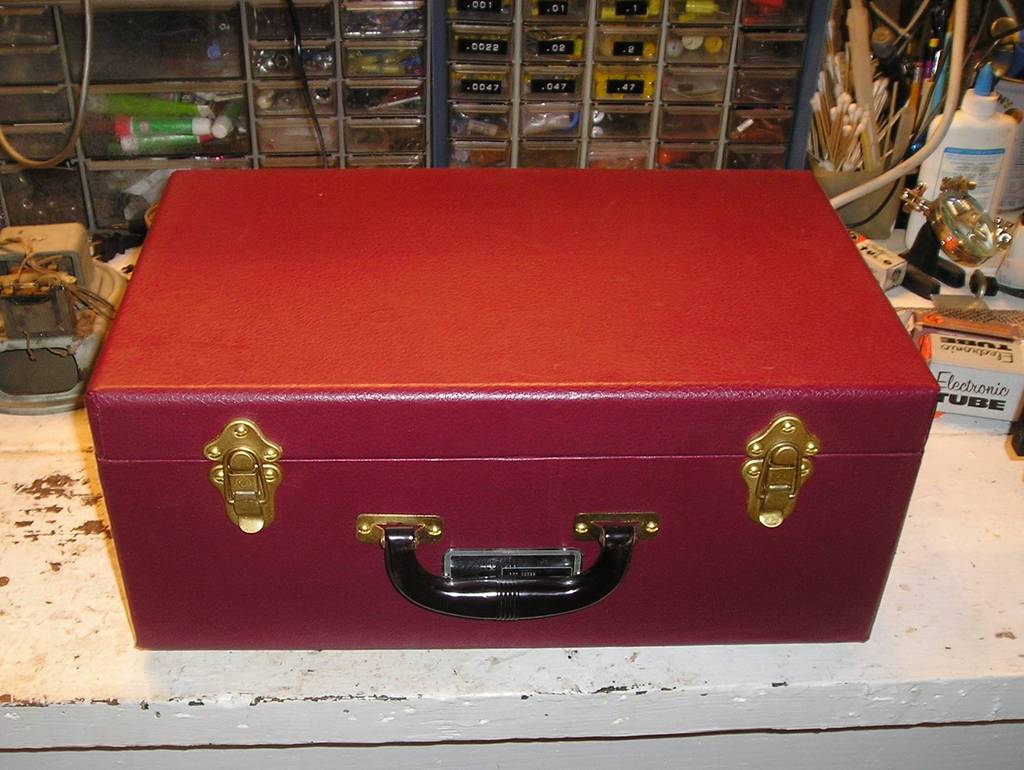
6. Once the covering is on, I used small machine screws and nuts to secure the hardware back on. I used a drill to re do the holes. Sometimes an awl will do.
7. Now that the case is complete, all that's left to do is to reinstall the tester, and you're done! Oh yes,, one more thing, there's the requisite cursing that's needed. It's the lube that makes the job flow. My kids keep a curse jar around for whenever I attempt a project, because they know that they'll get rich!
Good Luck!!
Bruce